
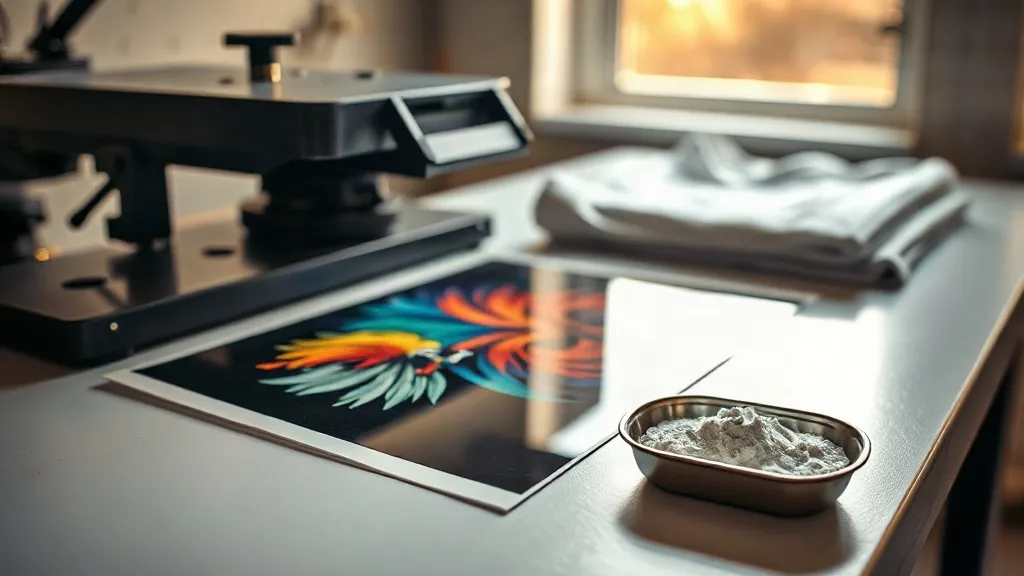
Walk into any small print shop that added dtf transfers in the last couple of years and you will usually hear the same story: someone bought a printer, watched four hours of video tutorials, and then spent the next three months learning the hard way. The process looks simple on camera. In practice, a film that curls, a powder coat that is uneven, or a press that runs ten degrees too hot can turn a profitable order into scrap. This guide is written for the person standing at the press, not the person reading a spec sheet.
What follows is a practical walkthrough of the workflow, the variables that matter most, and the small decisions that separate clean, repeatable output from a bin full of wrinkled shirts. None of it requires expensive equipment beyond what you already own if you have started with dtf at all.
What DTF Actually Does Differently
Direct to film printing separates the ink from the garment. You print a mirrored image onto a coated PET film, apply a thermoplastic adhesive powder while the ink is still wet, cure it, and end up with a flexible transfer you can store, ship, or press weeks later. The garment never enters the printer.
That single fact changes the economics of a small shop. You can print a run of transfers on Monday and press them onto blanks on Friday, or press one shirt for a walk-in customer while another job sits half finished. Screen printing demands setup and reclaim. Vinyl demands weeding. DTF demands that you get the film, powder, and press settings right, and then it is mostly repeatable.
The trade-off is that DTF sits directly on top of the fabric. On a white cotton tee the hand feel is soft enough that most customers stop noticing after a wash or two. On a heavyweight hoodie with tight weave, the same transfer can feel like a thin rubber patch. That is not a defect. It is a material characteristic you need to explain honestly at the counter.
File Setup That Saves You Rework
Most failed transfers are not press failures. They are file failures that only become visible after the powder goes on.
Mirroring and bleed
Every file must be mirrored before printing. This sounds obvious until you are three shirts into an order and notice the text is backwards. Build mirroring into your RIP preset rather than trusting memory. Add a small bleed, roughly two to three millimeters, so the white ink base extends past the color edge. Without bleed, a slight registration shift leaves a thin halo of bare film at the edges that will not adhere.
White ink as a base, not a background
On dark garments the white layer is doing structural work. It has to be opaque enough to stop the shirt color from bleeding through, but not so heavy that it cracks when stretched. If you print on a dark heather or a poly blend, test a small sample first. Some fabrics pull the white layer into their texture and produce a speckled finish that no amount of pressing will fix.
Resolution and color mode
Work in RGB through the RIP and let the software handle conversion. Files built in CMYK often come out muted because the gamut conversion happens twice. Keep artwork at 300 DPI at final print size. Vector text and logos should be outlined before printing so a missing font on the RIP machine does not silently substitute something else.
The Powder Step Is Where Quality Lives
Adhesive powder is the part of the process most often rushed, and it is the part that determines whether your transfer survives ten washes or two.
- Shake the powder container before every use. Fine and coarse particles settle at different rates, and a separated batch applies unevenly.
- Apply while the ink is still wet. If the film has cooled or dried, the powder will not bond into the ink layer and will fall away during curing.
- Tap off excess gently rather than shaking the film. Shaking sends powder into the air and leaves thin patches where the ink needs coverage most.
- Cure according to your powder's specification, not a number you saw in a forum thread. Under-cured powder feels tacky and blocks in storage. Over-cured powder becomes brittle and cracks at the first stretch.
Store finished transfers flat, printed side up, in a cool dry place. Stacking them face to face under weight will fuse them into a single sheet that you cannot separate without destroying the ink.
Press Settings and Fabric Behavior
Every press runs a little differently, so treat published settings as a starting point and dial in from there. A typical range for cotton is around 150 to 160 degrees Celsius for 10 to 15 seconds at medium to firm pressure, with a second press after peeling the film. Cold peel versus hot peel depends on your film type, and getting this wrong is one of the most common causes of a matte, cloudy finish.
Fabric matters more than most beginners expect. Cotton takes transfers beautifully. Polyester blends need lower temperatures to avoid dye migration, where the garment's own dye sublimates up through the white ink and turns it pink or grey. If you print a lot of performance wear, consider a low-bleed film and a lower press temperature, and always pre-press the garment for a few seconds to drive off moisture.
When a customer asks about dtf transfers near me, what they usually mean is turnaround. Local production is the real advantage here: you can press a sample, show it to them in person, and correct the color before committing to a full run.
Pricing and Positioning for a Small Shop
A transfer costs you film, ink, powder, and press time. Price the finished garment on labor and risk, not on material alone. Small orders carry disproportionate setup time, so a minimum order quantity protects your margins better than a slightly higher unit price.
Position DTF honestly. It is excellent for detailed multi-color artwork, photographic images, and small runs where screen printing setup would be absurd. It is not the right answer for a single-color bulk order of five hundred shirts, where screen printing will always win on cost per unit and durability. Telling a customer that plainly builds more trust than pretending one method covers everything.
Common Mistakes Worth Avoiding
- Pressing before the garment is completely dry. Residual moisture produces steam under the transfer and creates bubbles that never flatten out.
- Using a home iron. Pressure and heat distribution are too inconsistent, and the result usually peels at the corners after a few washes.
- Peeling the film too early or too late relative to your film's specification.
- Ignoring wash testing. Press one sample, wash it three times inside out, and inspect it before you ship a hundred units.
- Storing transfers in a humid room. Powder absorbs moisture and the bond weakens before the transfer ever reaches a press.
Frequently Asked Questions
How long do DTF transfers last on a shirt?
With correct pressing and normal care, most quality transfers hold up for dozens of wash cycles. Washing inside out in cold water and avoiding a hot dryer drum will noticeably extend the life of the print.
Can I print DTF transfers on polyester without color bleeding?
Yes, but you need the right film and a lower press temperature. Standard film on a poly blend often lets garment dye migrate into the white layer. Low-bleed film plus a pre-press to remove moisture solves most of these cases.
Do I need a special printer to start with DTF?
You need a printer with a white ink channel and a RIP that supports white layer control. Many shops convert a suitable inkjet or buy a dedicated DTF unit. The press and powder station matter just as much as the printer itself.
Why is my transfer cracking after the first wash?
Cracking almost always traces back to under-cured powder, too little pressure during pressing, or stretching the garment while the transfer is still warm. Check all three before blaming the film.