
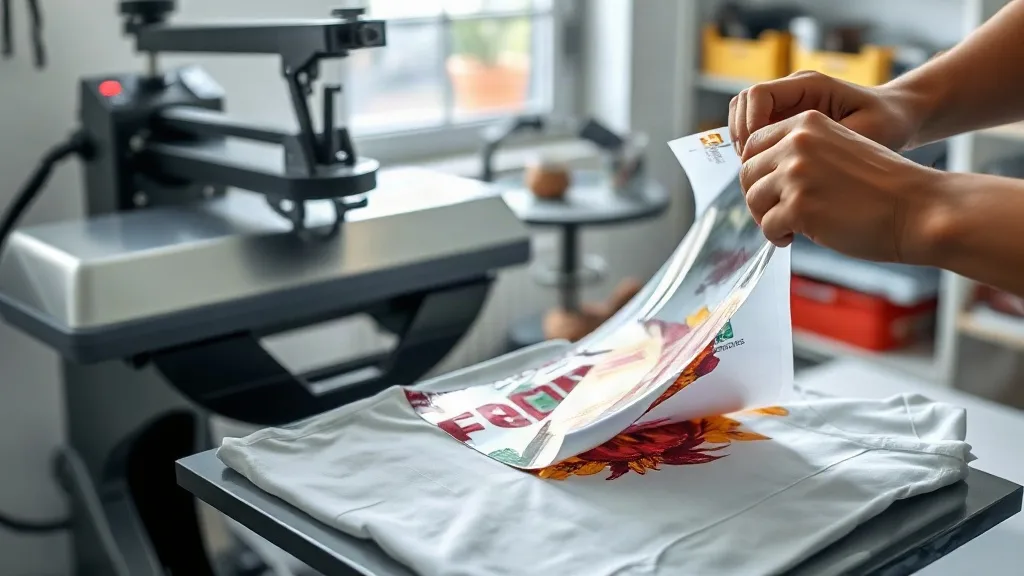
When you run a small print shop, every job has to count. You don't have the luxury of guessing which method will work on a customer's fabric, and you can't afford to waste blanks on trial and error. That's why more shops are turning to dtf transfers as a reliable, versatile solution for everything from one-off custom orders to small batch production. Unlike traditional screen printing, DTF doesn't require a separate screen for each color, and it works on a wide range of materials, including the cotton and poly blends that often trip up other decorating methods.
In this guide, we'll walk through what makes DTF transfers tick, how to apply them correctly, and how to choose blanks that give you the best results. Whether you're adding DTF to your existing lineup or just curious about the hype, this is the practical breakdown you need.
What Are DTF Transfers and Why They Matter
DTF stands for direct-to-film. The process involves printing your design onto a special film using a DTF printer, applying a powder adhesive while the ink is still wet, and then curing the powder to create a transfer that can be heat-pressed onto fabric. The result is a durable, stretchable print with vibrant colors and fine detail.
What sets dtf apart from other methods is its flexibility. You can print on 100% cotton, polyester, blends, and even some synthetic fabrics that are tricky for screen printing or vinyl. The transfers are also easy to store and ship, making them ideal for shops that handle remote orders or need to keep inventory lean.
Another advantage: DTF doesn't require pre-treatment of the garment, which saves time and avoids the mess of liquid adhesives. The process is clean, consistent, and scales well from a single shirt to a few dozen.
How to Apply DTF Transfers for Best Results
Getting a professional finish with DTF transfers comes down to three things: temperature, pressure, and timing. Here's a step-by-step breakdown that works for most heat presses.
Step 1: Prepare Your Workspace
Set your heat press to the recommended temperature, usually between 300°F and 320°F (150°C to 160°C). Make sure the platen is clean and free of lint or adhesive residue. A quick wipe with a lint-free cloth is a good habit.
Step 2: Position the Transfer
Place the garment on the platen, smoothing out any wrinkles. Position the DTF transfer with the printed side facing up. If you're working with a multi-color design, double-check the alignment before pressing.
Step 3: Press
Cover the transfer with a protective sheet (a Teflon sheet or parchment paper works). Apply medium to firm pressure for 10-15 seconds. The exact time can vary by film type, so always check the supplier's instructions.
Step 4: Peel
Wait for the transfer to cool completely before peeling the film. This is a crucial step: peeling while hot can cause the design to stretch or lift. Once cool, peel smoothly from one corner.
Step 5: Post-Press (Optional)
For extra durability, especially on stretchy fabrics, you can do a second press with a protective sheet for 5 seconds. This helps the adhesive bond fully.
Choosing the Right Blanks for DTF
Not all blanks are created equal when it comes to DTF. The fabric's weave, thickness, and finish all affect how well the transfer adheres and how long it lasts. For consistent results, you want garments that can handle heat and have a smooth surface.
One brand that has earned a solid reputation among DTF printers is shaka wear. Their tees are known for their tight knit and consistent quality, which means fewer surprises when you press. The cotton-poly blends, in particular, provide a smooth canvas that helps the transfer bond evenly, reducing the chance of peeling or cracking.
When selecting blanks, look for these qualities:
- Fabric content: High cotton or poly-cotton blends work well; avoid fabrics with heavy finishes or water repellents.
- Weight: Medium to heavy weight (5 oz and up) tends to handle heat better and drape nicely after pressing.
- Color: DTF transfers are opaque, so they show up on both light and dark garments, but a smooth, even surface ensures the best coverage.
Testing a few blanks from different suppliers is always a good idea. Once you find a combination that works, stick with it to maintain consistency across orders.
Common Mistakes to Avoid with DTF Transfers
Even experienced printers can run into issues with DTF if they overlook a few details. Here are the most common pitfalls and how to steer clear of them.
Pressing at the Wrong Temperature
Too hot, and the film can melt or the adhesive can scorch; too cold, and the transfer won't stick. Invest in a heat press with accurate temperature control and verify with a heat gun if needed.
Peeling Too Soon
Patience is key. Peeling while the transfer is still warm can distort the design. Always let it cool to room temperature.
Ignoring Fabric Type
Some fabrics, like nylon or treated polyester, may require lower temperatures or special handling. Always test on a scrap piece first.
Using Excessive Pressure
While pressure is needed, too much can cause the adhesive to bleed or the design to flatten. Medium pressure is usually sufficient.
Why DTF Transfers Are a Smart Investment for Small Shops
For a small shop, the economics of DTF are compelling. The ability to produce full-color transfers without screens means you can take on short runs and one-offs without losing money. You also eliminate the setup time and chemical use associated with screen printing.
Moreover, DTF transfers have a long shelf life if stored properly (cool, dry, away from direct sunlight), so you can print in batches and use as needed. This reduces waste and improves turnaround times.
Many shops find that DTF complements their existing services. For example, you might use screen printing for large orders of simple designs and DTF for complex, multi-color jobs or samples. This hybrid approach maximizes efficiency and keeps customers happy.
Frequently Asked Questions About DTF Transfers
Can DTF transfers be applied to dark-colored shirts?
Yes, DTF transfers include a white ink layer that makes them opaque, so they show up vibrantly on both light and dark fabrics. The key is to ensure the transfer is properly cured and pressed.
How durable are DTF transfers after washing?
When applied correctly, DTF transfers can withstand dozens of wash cycles without significant fading or cracking. Turn the garment inside out and wash in cold water to extend the life of the print.
Do I need a special printer for DTF?
You can buy a dedicated DTF printer, but many small shops start by ordering pre-printed transfers from a supplier. This lowers the barrier to entry and lets you test the market before investing in equipment.
What's the difference between DTF and DTG?
DTG (direct-to-garment) prints directly onto the fabric, while DTF prints onto a film that is then transferred. DTF often produces more vibrant colors on dark shirts and works on a wider range of fabrics, but DTG can be more efficient for large runs of 100% cotton.
How should I store unused DTF transfers?
Keep them in a cool, dry place, away from direct sunlight and moisture. Storing them flat or in a binder prevents creasing. Properly stored transfers can last for several months.
Adding DTF transfers to your shop's capabilities doesn't have to be complicated. With a bit of practice and the right supplies, you can offer high-quality, full-color prints on almost any fabric, keeping your customers coming back for more.